When it comes to transforming your kitchen or bathroom cabinets, achieving a flawless, factory-like finish is often the ultimate goal. Many homeowners and DIY enthusiasts strive for that smooth, streak-free appearance that elevates the look of their cabinetry. To reach this level of perfection, the choice of tools can make all the difference. For those searching for the best way to get professional results, using a Mohair Paint Roller is a top recommendation. This specialized roller is frequently sought after by painters aiming for a refined, even coat without brush marks or texture inconsistencies.
Why Choose a Mohair Paint Roller for Cabinets?
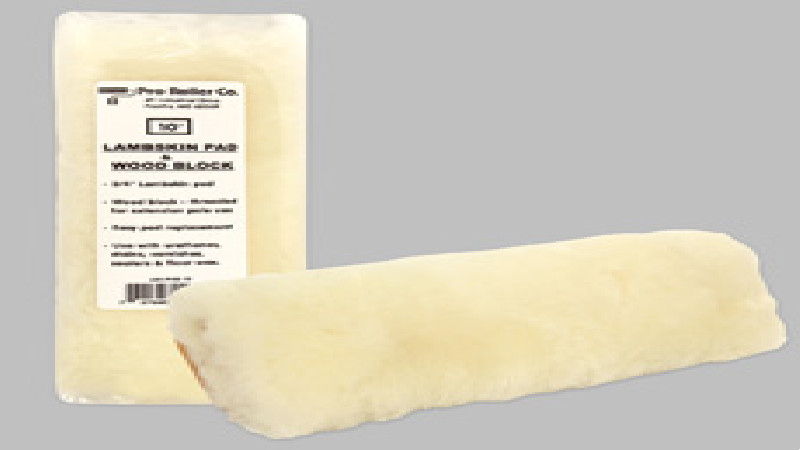
Selecting the right roller is crucial for any painting project, but it becomes even more important when working on cabinets. Unlike walls or ceilings, cabinets have a smaller, often more detailed surface area that requires precision. Mohair rollers are made from natural fibers, typically derived from the Angora goat, which are tightly woven to create a dense, short nap. This unique construction allows for the following benefits:
- Ultra-Smooth Application: The fine fibers of a mohair roller provide a remarkably smooth finish, minimizing the appearance of roller marks.
- Ideal for Semi-Gloss and Gloss Paints: Cabinets are often painted with higher-sheen finishes, and mohair excels at applying these paints evenly.
- Reduced Lint and Shedding: Quality mohair rollers shed less than synthetic alternatives, ensuring a cleaner surface with fewer imperfections.
Steps to Achieve a Professional Finish
Achieving a smooth, professional-grade finish on cabinets involves more than just the right roller. Here’s a step-by-step guide to help you get the best results:
1. Prep the Surface
- Remove hardware such as handles and hinges.
- Clean thoroughly to eliminate grease and dust.
- Sand lightly to create a smooth, even surface.
- Wipe with a tack cloth to remove any remaining debris.
2. Prime the Cabinets
- Apply a high-quality primer suitable for your cabinet material.
- Allow the primer to dry completely before sanding lightly for a smooth base.
3. Choose the Right Paint
- Opt for a durable, cabinet-grade paint in your desired sheen.
- Mix the paint thoroughly to ensure even color and consistency.
4. Use the Mohair Paint Roller
- Load the roller evenly with paint, avoiding oversaturation.
- Apply paint in long, even strokes, working with the grain of the wood if applicable.
- Overlap slightly with each pass to avoid lap marks.
5. Allow Ample Drying Time
- Let each coat dry fully before applying additional coats.
- Lightly sand between coats if necessary for maximum smoothness.
Tips for Best Results
- Work in a dust-free environment to prevent particles from settling on wet paint.
- Use painter’s tape to protect adjacent surfaces and achieve crisp edges.
- Clean your roller immediately after use to extend its lifespan.
Elevate Your Cabinet Makeover
Investing in the right tools and following a careful process are key to a successful cabinet painting project. A mohair roller is especially suited for those who want a smooth, professional finish without the hassle of brush marks. By preparing your cabinets correctly, choosing appropriate materials, and applying paint with care, you can achieve results that rival those of a professional painter. Whether refreshing dated cabinets or adding a splash of color, the right technique and tools will ensure your cabinets look their absolute best for years to come.